


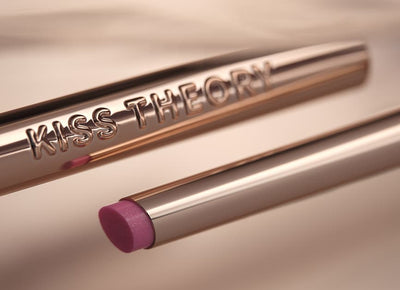

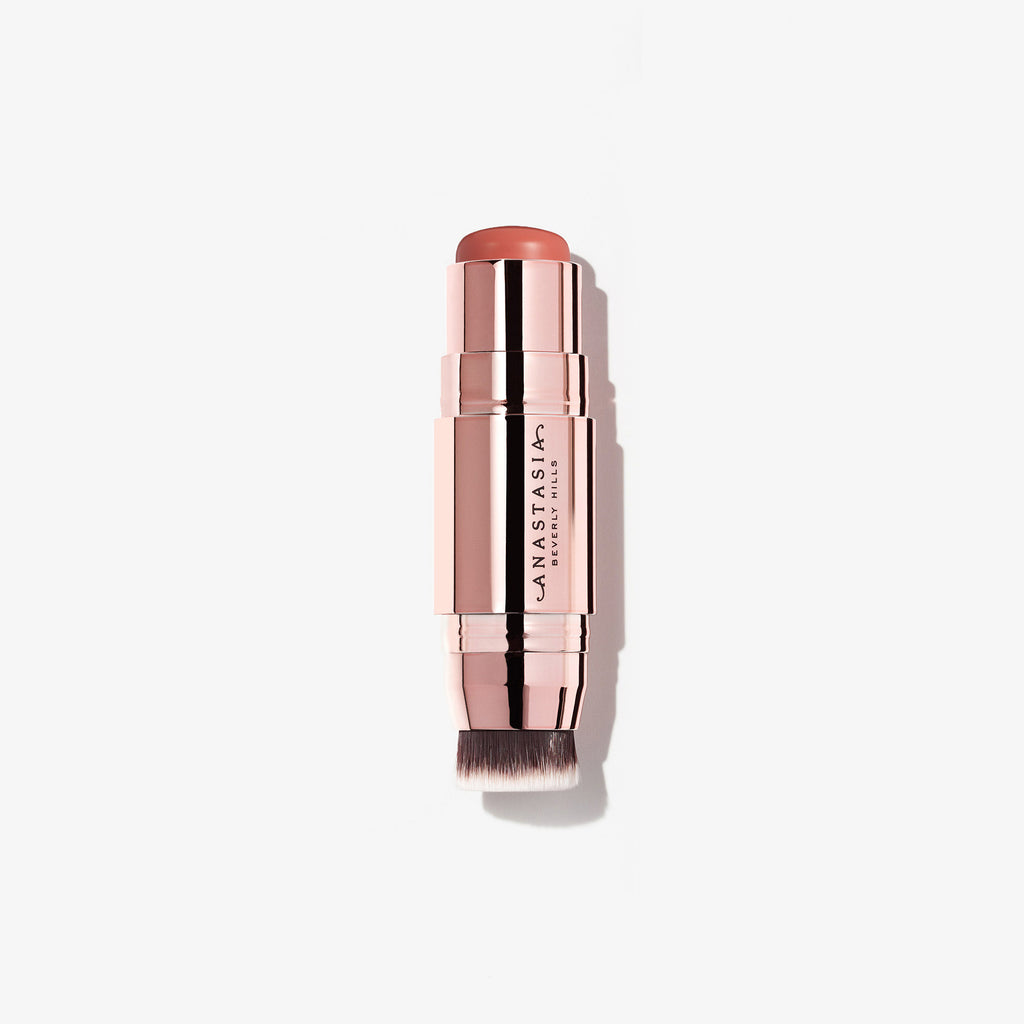
AWARD WINNER
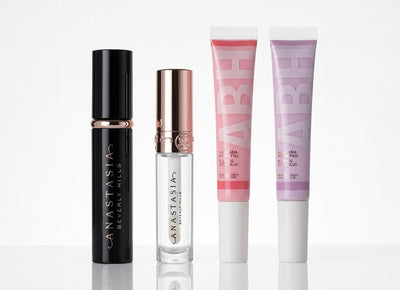
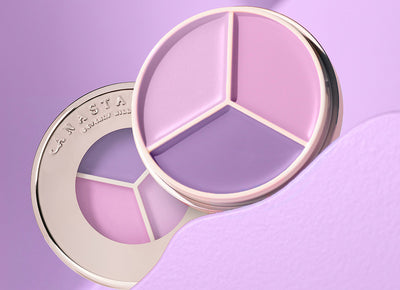
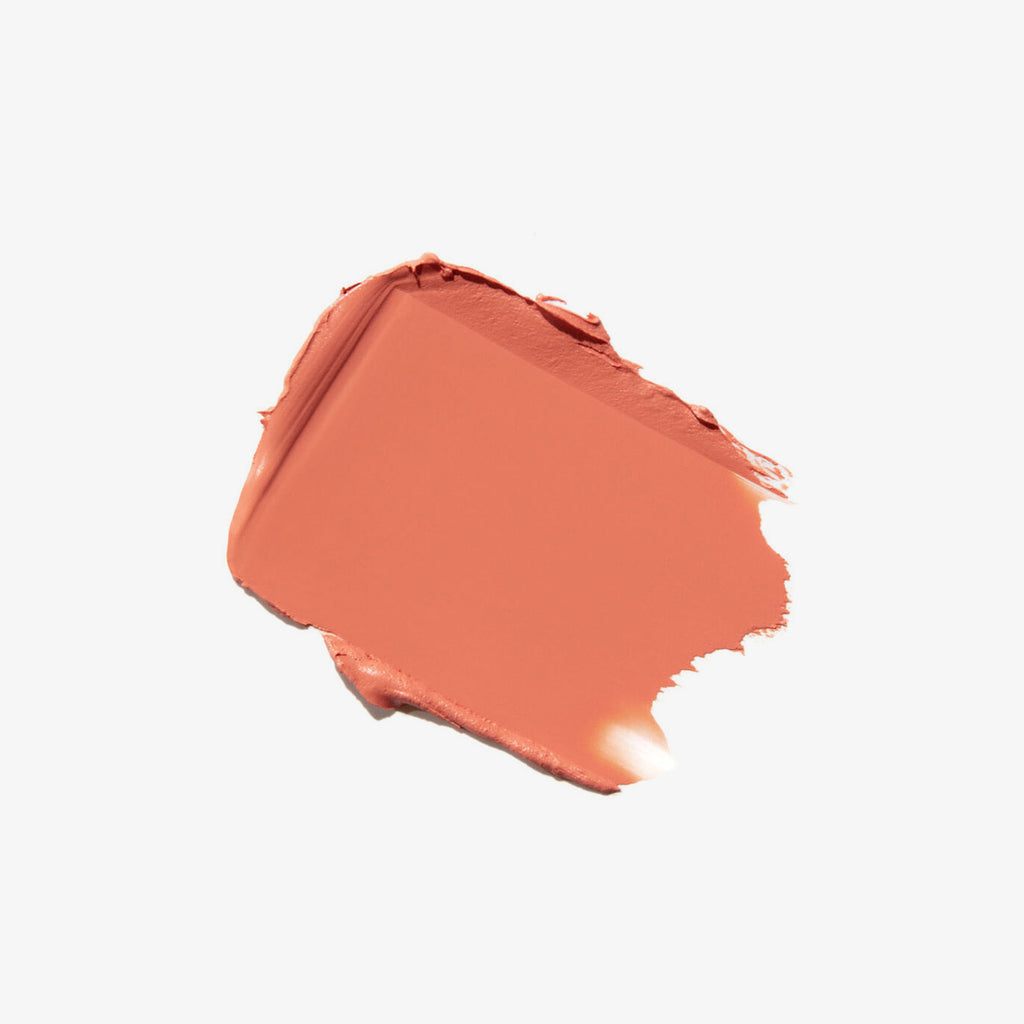
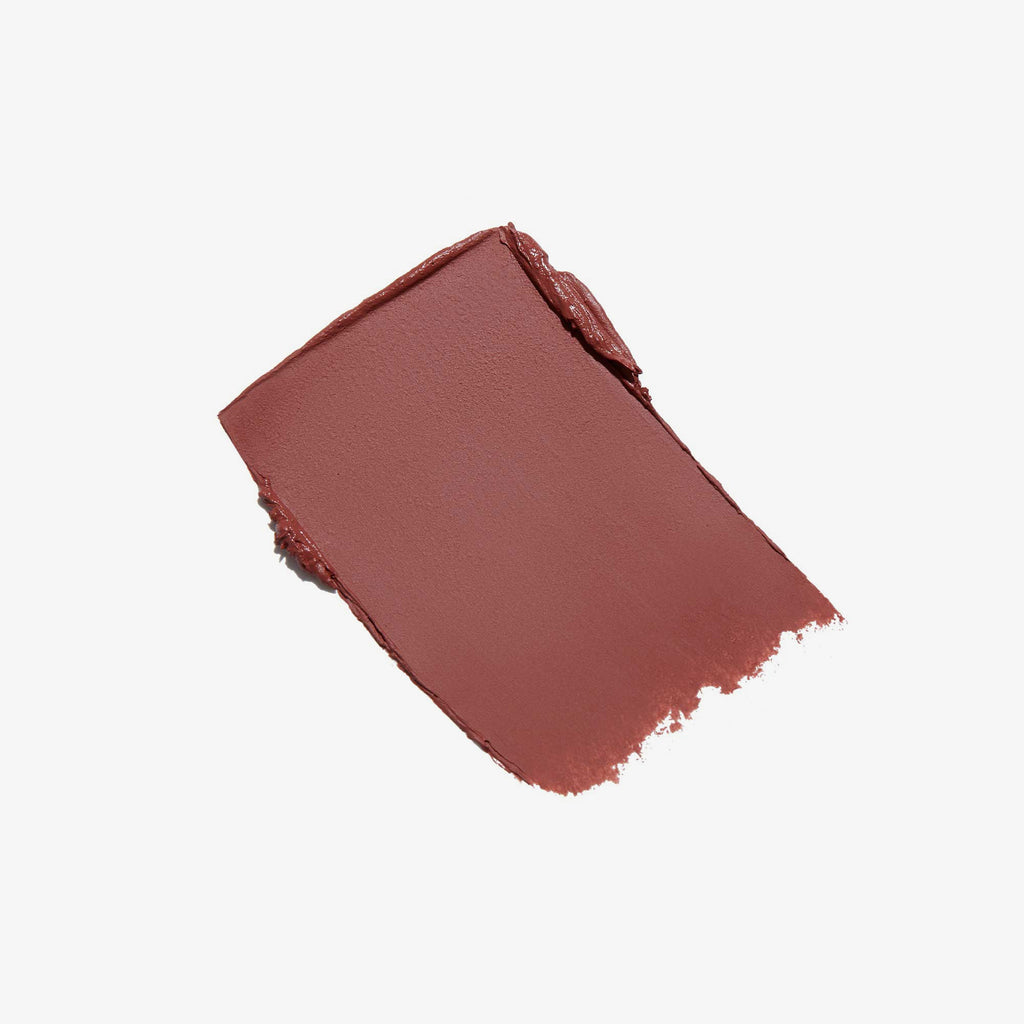
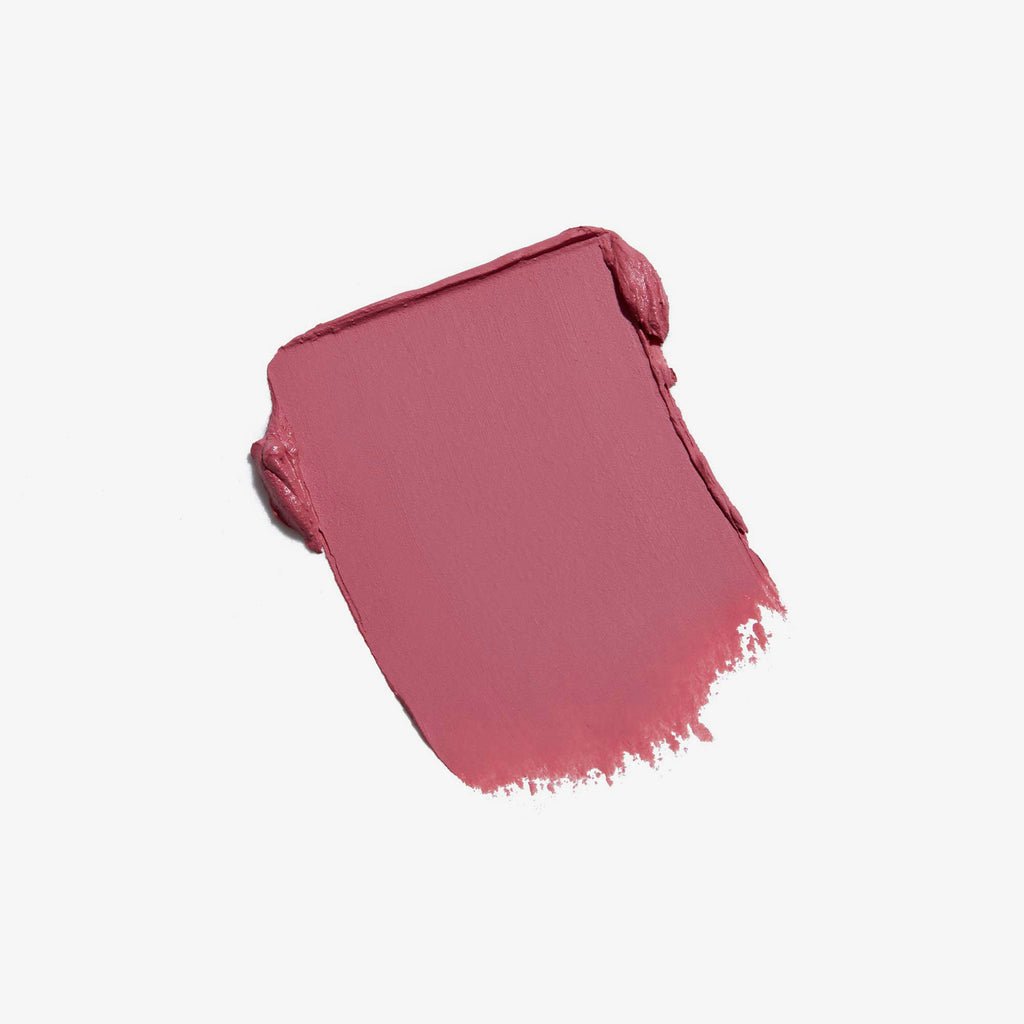
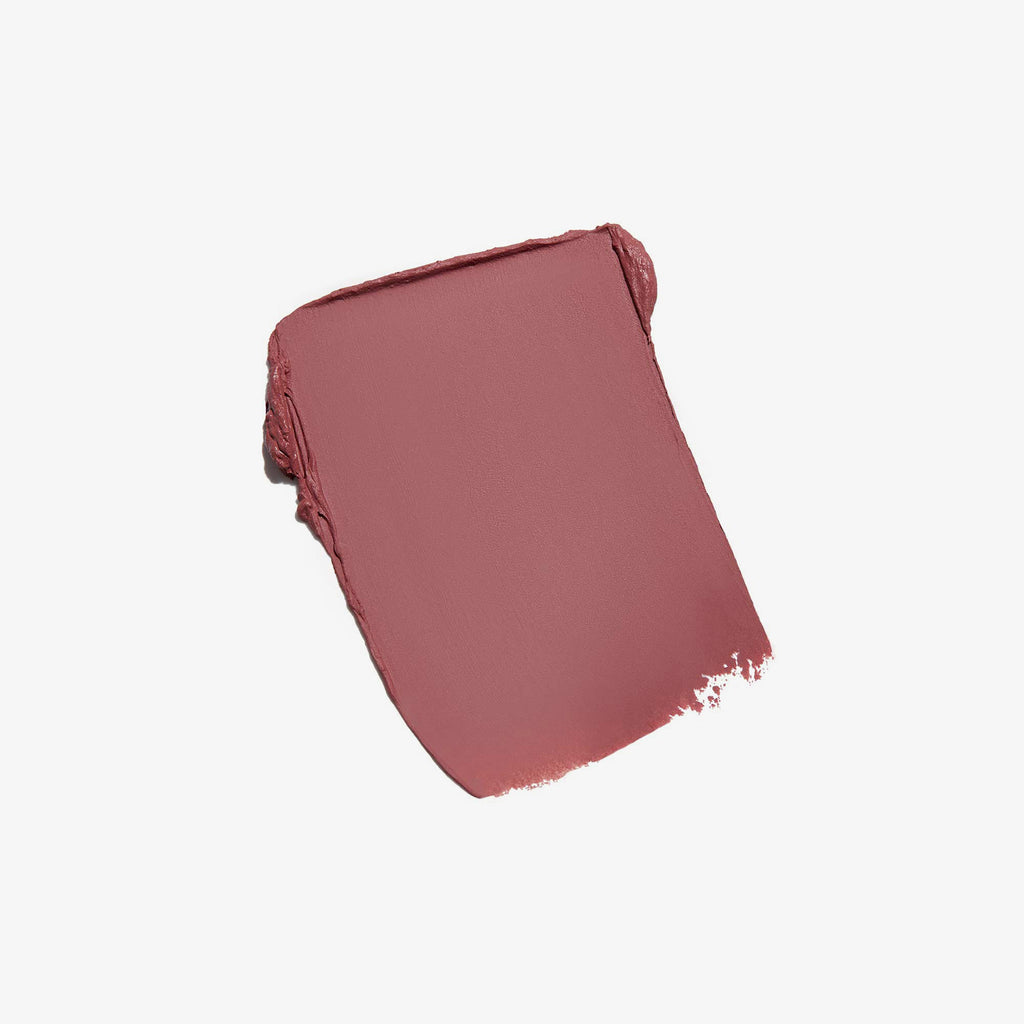
Stick Blush
$32.00


Articles
 Stick Blush$32.00 | 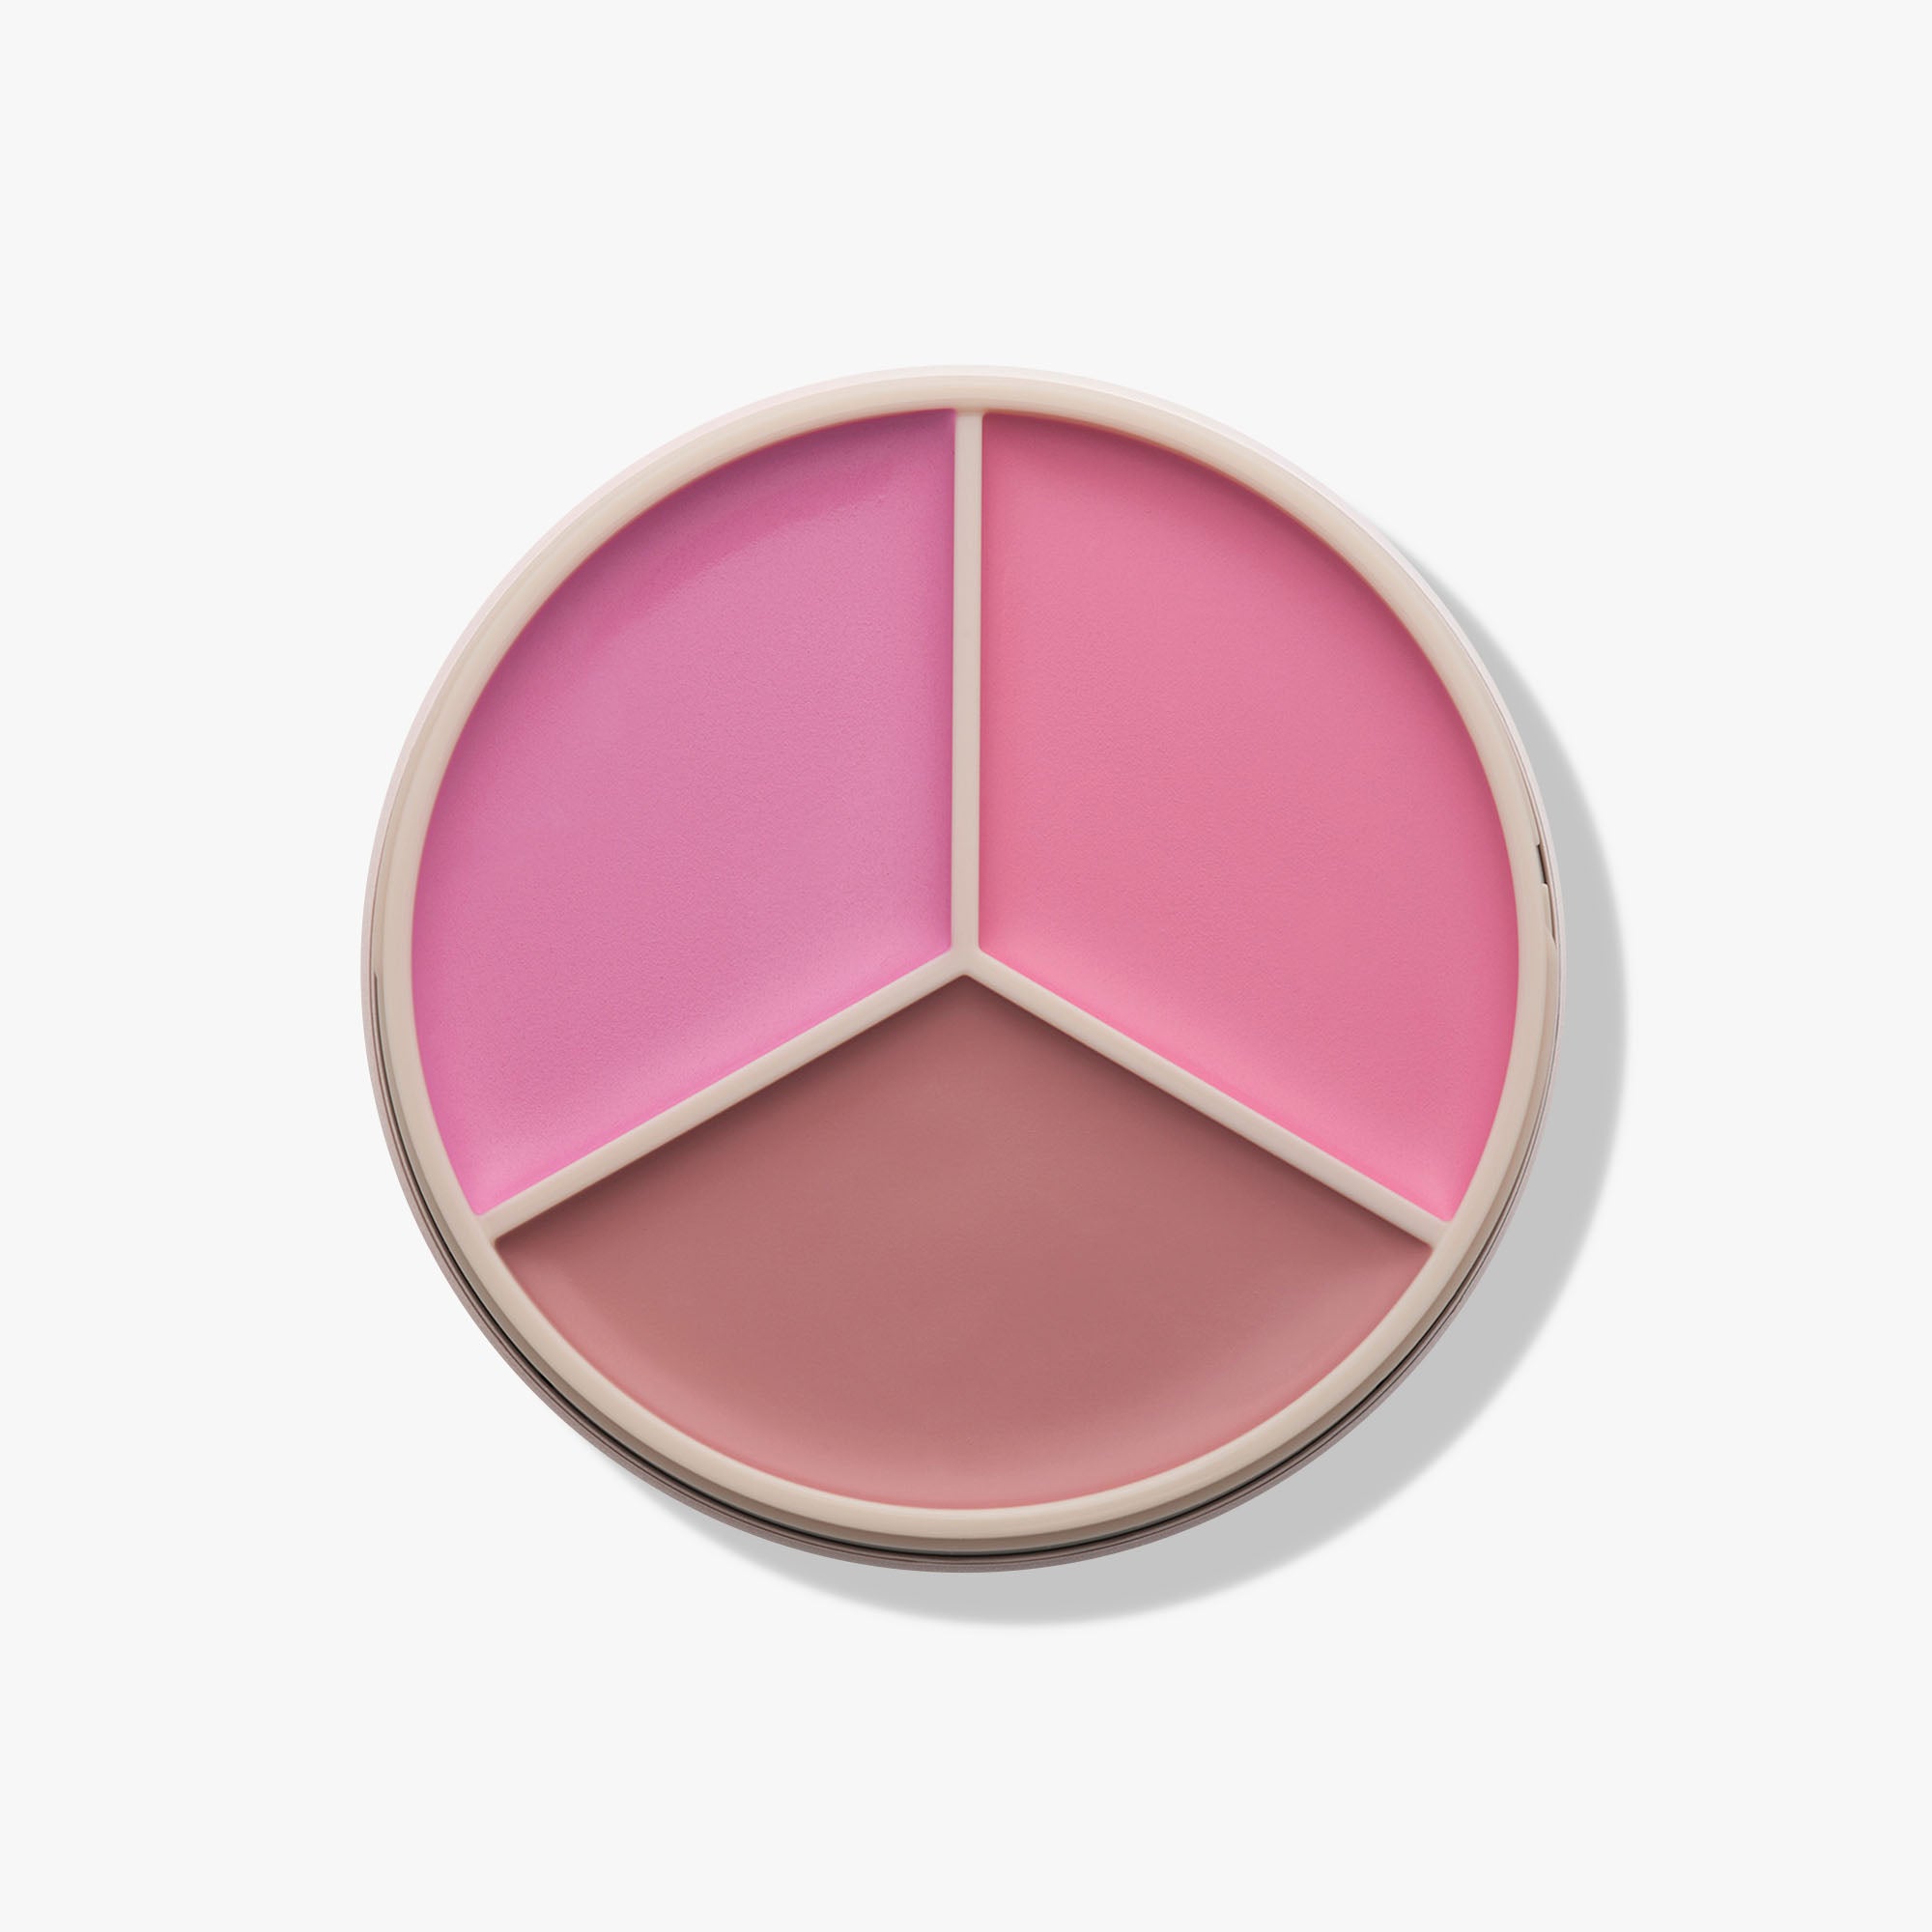 Magic Touch Blush Trio$38.00 | 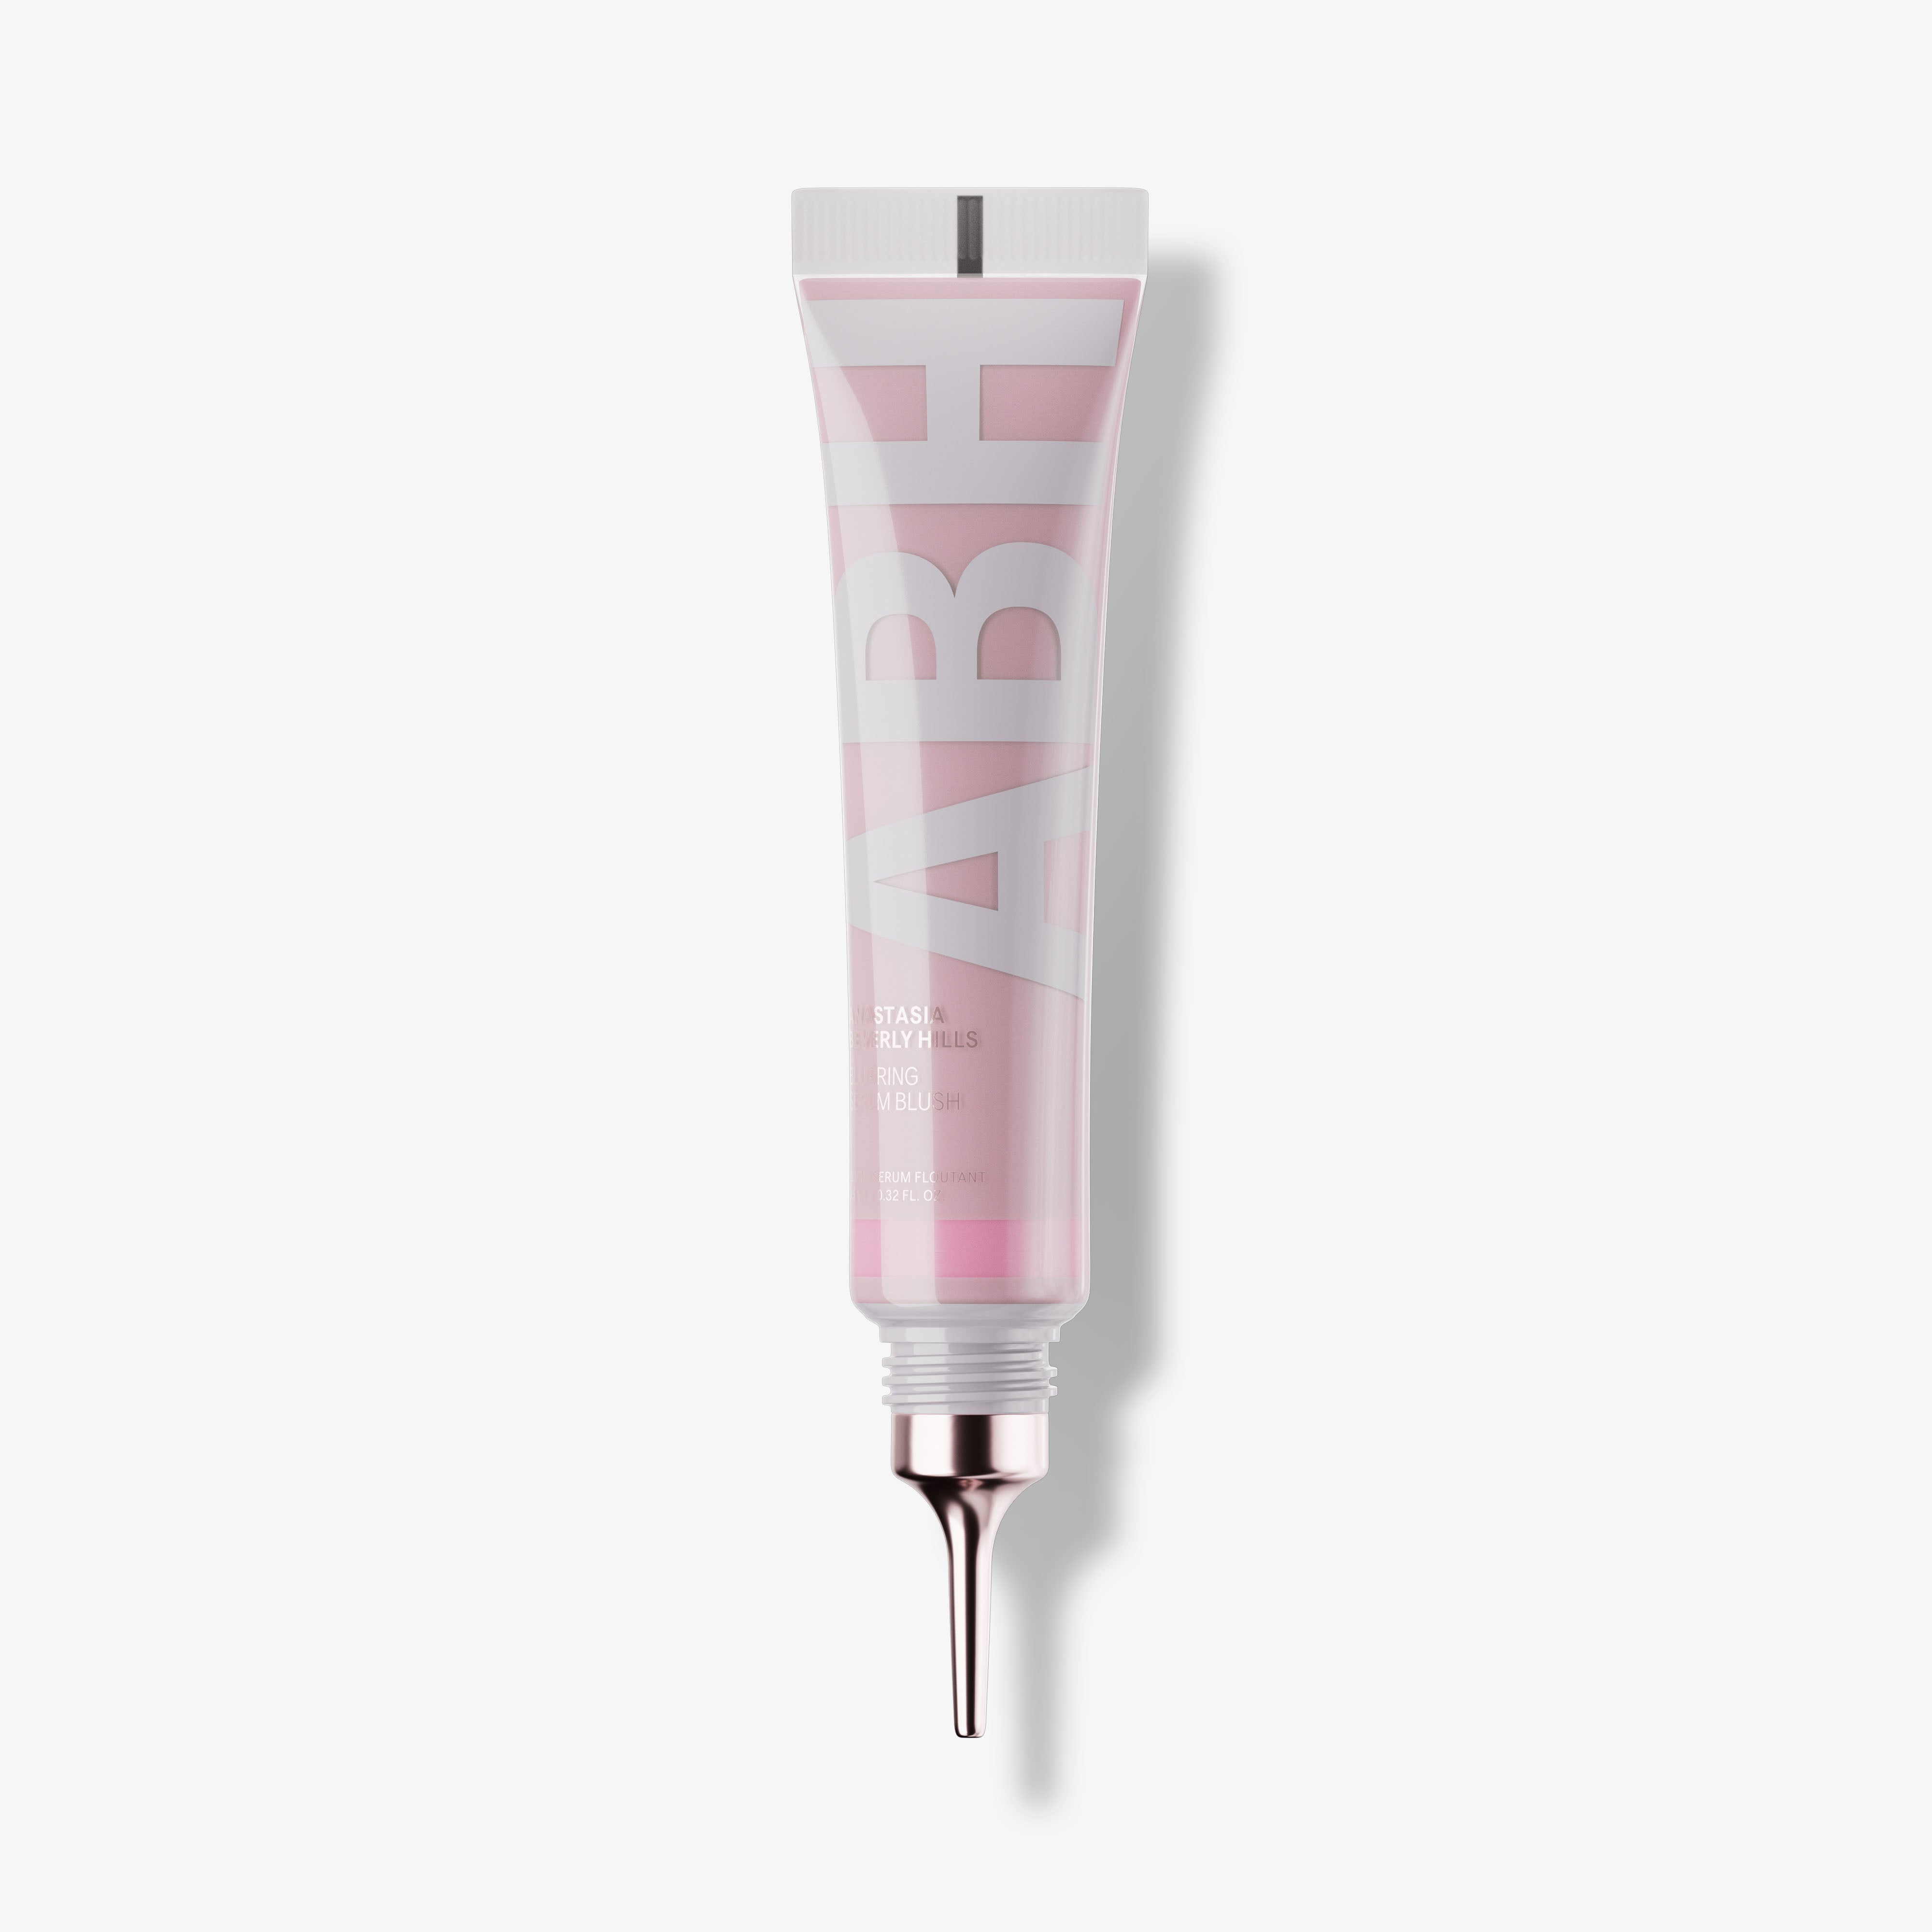 Blurring Serum Blush$25.00 | |
|---|---|---|---|
WHAT IT IS |
Second-skin color with a natural looking seamless finish
|
Silky, high-pigment blush with a natural, blurred matte flush
|
A serum-enriched, hydrating liquid blush with a blurring, soft-matte finish
|
FORMULA |
Ultra-lightweight cream
|
Silky, blurring, high-pigment cream
|
Serum-enriched, skin-loving, liquid, innovative
|
COVERAGE |
Buildable, radiant, vivid, natural-looking color
|
Buildable intensity
|
Buildable, lightweight, gel-like, bouncy texture
|
CONCERN |
Dull skin
|
Layering without disrupting makeup, harsh lines, patchiness, settling, streaks
|
Instantly diffuses imperfections for radiant, bouncy skin
|
FINISH |
Seamless, second-skin, fresh-faced, glowing
|
Blurred matte
|
Blurring, soft-matte, vibrant, seamless
|
BENEFITS |
Long-lasting, soft-focus effect that blurs and diffuses
|
Soft washes of color to high-impact pay-off
|
Hydrating, flushed-from-within-effect
|
KEY INGREDIENTS |
—
|
Pomegranate Oil, Spherical Powder
|
Niacinamide, Pomegranate Peels Extract
|
IDEAL FOR |
All skin tones
|
—
|
All skin types
|
SHADES |
|
|
|
